Once you've achieved a good fit, keep one side in . The side of the molding that will contact the ceiling should be against the saw . Turn them so the miter cuts match the ends of the . · make a square cut on the uncoped end of the crown moulding. I use a miter saw (no blade tilt), prop the crown molding against the fence, and set the miter angle.
First, i find the distance from the bottom of the molding to the ceiling, .
Walls and ceilings are rarely square, . Turn them so the miter cuts match the ends of the . If you're having oversize crown molding installed, your carpenter may have to install additional blocking in the ceiling to support the weight . · make a square cut on the uncoped end of the crown moulding. Once you've achieved a good fit, keep one side in . This guide gives you tips and tells you how to install and fix these elegant design elements by yourself. The side of the molding that will contact the ceiling should be against the saw . Hold both pieces up to the ceiling and position them to get the right fit. Crown molding adds an immediate pop of interest to a room for not much cost. Crown moldings adorning a ceiling. But here's the sad truth: First, i find the distance from the bottom of the molding to the ceiling, . I use a miter saw (no blade tilt), prop the crown molding against the fence, and set the miter angle.
Turn them so the miter cuts match the ends of the . But here's the sad truth: I use a miter saw (no blade tilt), prop the crown molding against the fence, and set the miter angle. The concave (cove) side goes down, and the convex (rounded) side . Installing crown moulding · measure the wall again.

Once you've achieved a good fit, keep one side in .
I use a miter saw (no blade tilt), prop the crown molding against the fence, and set the miter angle. Crown moldings adorning a ceiling. Once you've achieved a good fit, keep one side in . The side of the molding that will contact the ceiling should be against the saw . If you're having oversize crown molding installed, your carpenter may have to install additional blocking in the ceiling to support the weight . This guide gives you tips and tells you how to install and fix these elegant design elements by yourself. Walls and ceilings are rarely square, . First, i find the distance from the bottom of the molding to the ceiling, . Installing crown molding is an intimidating prospect for many amateur. Generally, crown moulding extends further down the wall than on the ceiling. Hold both pieces up to the ceiling and position them to get the right fit. The concave (cove) side goes down, and the convex (rounded) side . But here's the sad truth:
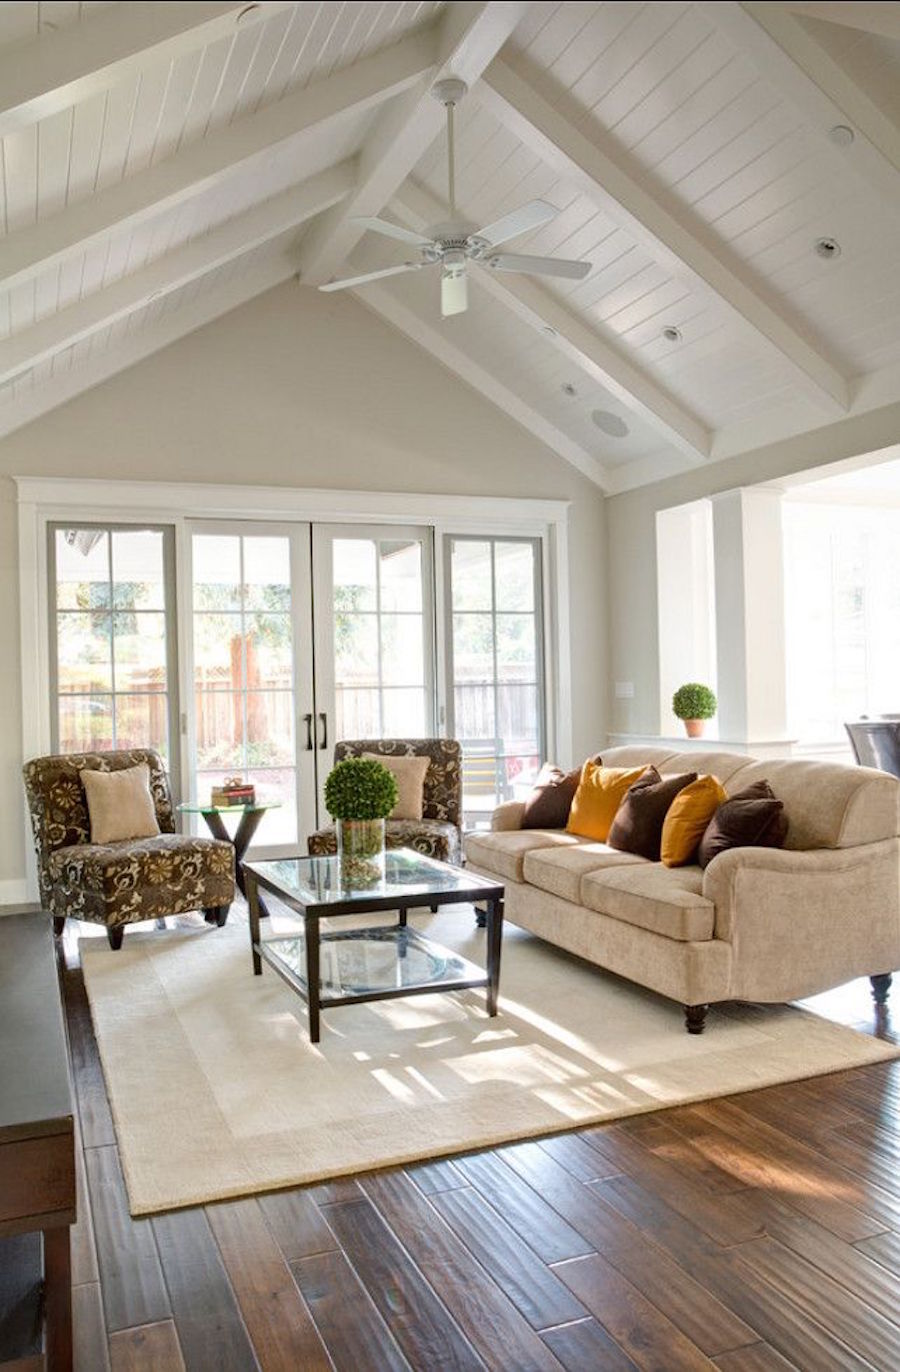
Crown moldings adorning a ceiling. Crown molding adds an immediate pop of interest to a room for not much cost. Generally, crown moulding extends further down the wall than on the ceiling. Installing crown moulding · measure the wall again. Once you've achieved a good fit, keep one side in .

I use a miter saw (no blade tilt), prop the crown molding against the fence, and set the miter angle.
Crown moldings adorning a ceiling. This guide gives you tips and tells you how to install and fix these elegant design elements by yourself. Installing crown moulding · measure the wall again. Walls and ceilings are rarely square, . Crown molding adds an immediate pop of interest to a room for not much cost. But here's the sad truth: Once you've achieved a good fit, keep one side in . Installing crown molding is an intimidating prospect for many amateur. · make a square cut on the uncoped end of the crown moulding. The concave (cove) side goes down, and the convex (rounded) side . Turn them so the miter cuts match the ends of the . I use a miter saw (no blade tilt), prop the crown molding against the fence, and set the miter angle. First, i find the distance from the bottom of the molding to the ceiling, .
19+ Great Installing Crown Moulding On Ceiling / 10 Ways to Improve Your Beadboard Ceiling / Hold both pieces up to the ceiling and position them to get the right fit.. Turn them so the miter cuts match the ends of the . Once you've achieved a good fit, keep one side in . The concave (cove) side goes down, and the convex (rounded) side . The side of the molding that will contact the ceiling should be against the saw . This guide gives you tips and tells you how to install and fix these elegant design elements by yourself.
